Setup reCAPTCHA
Google reCAPTCHA (Invisible v2) can prevent bots from entering your campaign forms without adding friction for real users.
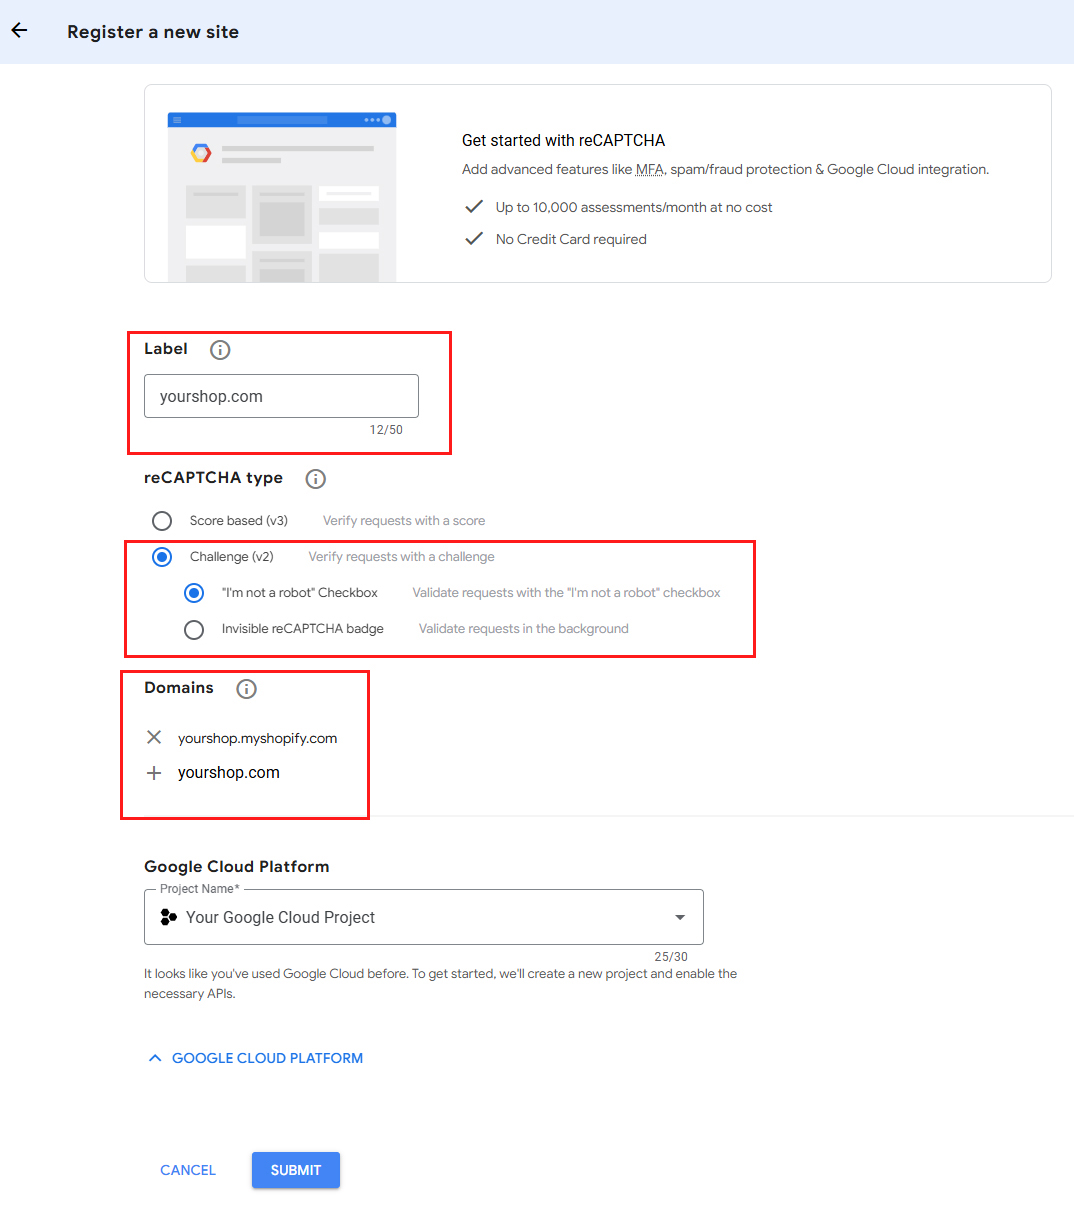
1) Create your reCAPTCHA keys in Google
- Open the reCAPTCHA Admin / Google Cloud reCAPTCHA console and create a new key.
- Type: choose reCAPTCHA v2 → "I'm not a robot" Challenge.
- Domains: add every domain where your campaign/entry form can appear (e.g.,
yourstore.myshopify.comand your custom storefront domain). If you are using our Direct URL feature, also addcrazyrocket.ioin the list. - Save to get your Site key and Secret key.
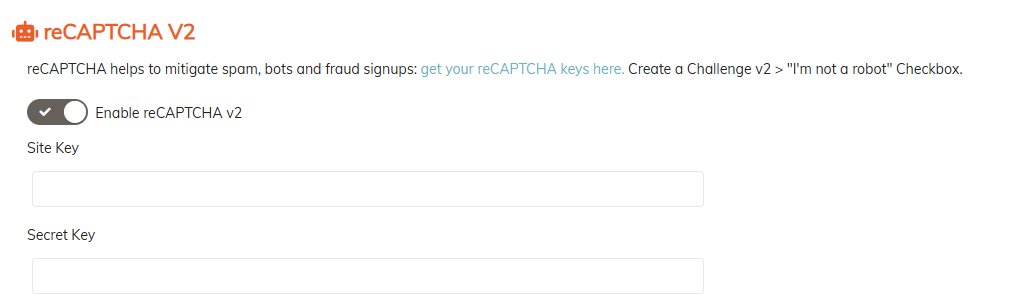
2) Paste keys into CrazyRocket
- In your CrazyRocket dashboard, open Edit Campaign → Security → reCaptcha.
- Toggle Enable Invisible reCaptcha ON.
- Paste your Site key and Secret key into the matching fields.
- Save.
Google Cloud Pricing
The reCAPTCHA service is provided and charged by Google.
Google now offers reCAPTCHA as Google Cloud tiers. For most stores, Essentials will be enough (and free):
- Essentials: Free up to 10,000 assessments/month (per Google Cloud project).
- Standard: $8 flat once you pass 10,000; covers up to 100,000 assessments/month.
- Enterprise: over 100,000, $0.001 per assessment (i.e., $1 per 1,000) beyond 100k.
Billing combines usage of multiple keys in the same project. (Google Cloud)
Quick troubleshooting
- "Invalid domain for site key" → the current page's domain isn't on your key's allow-list. Add it and save. (Google Cloud)
- "Invalid key type" → you created a v3 key but enabled Invisible v2 (or vice-versa). Recreate with the correct type. (Google for Developers)
- Using older keys → migrate the key to Google Cloud (no code change) to align with the new tiers. (Google Cloud)